
Painting Outside the Lines: Adding Whimsy with DIY Scalloped Painted Walls
Welcome to our step-by-step guide to creating beautiful DIY scalloped painted walls. Adding scalloped patterns to your walls is a fantastic way to add a touch of elegance and creativity to any room. Whether you're looking to revamp your bedroom, living room, or nursery, this fun and easy DIY project will breathe new life into your space. Let's dive right in!
Materials Needed:
Painter's tape
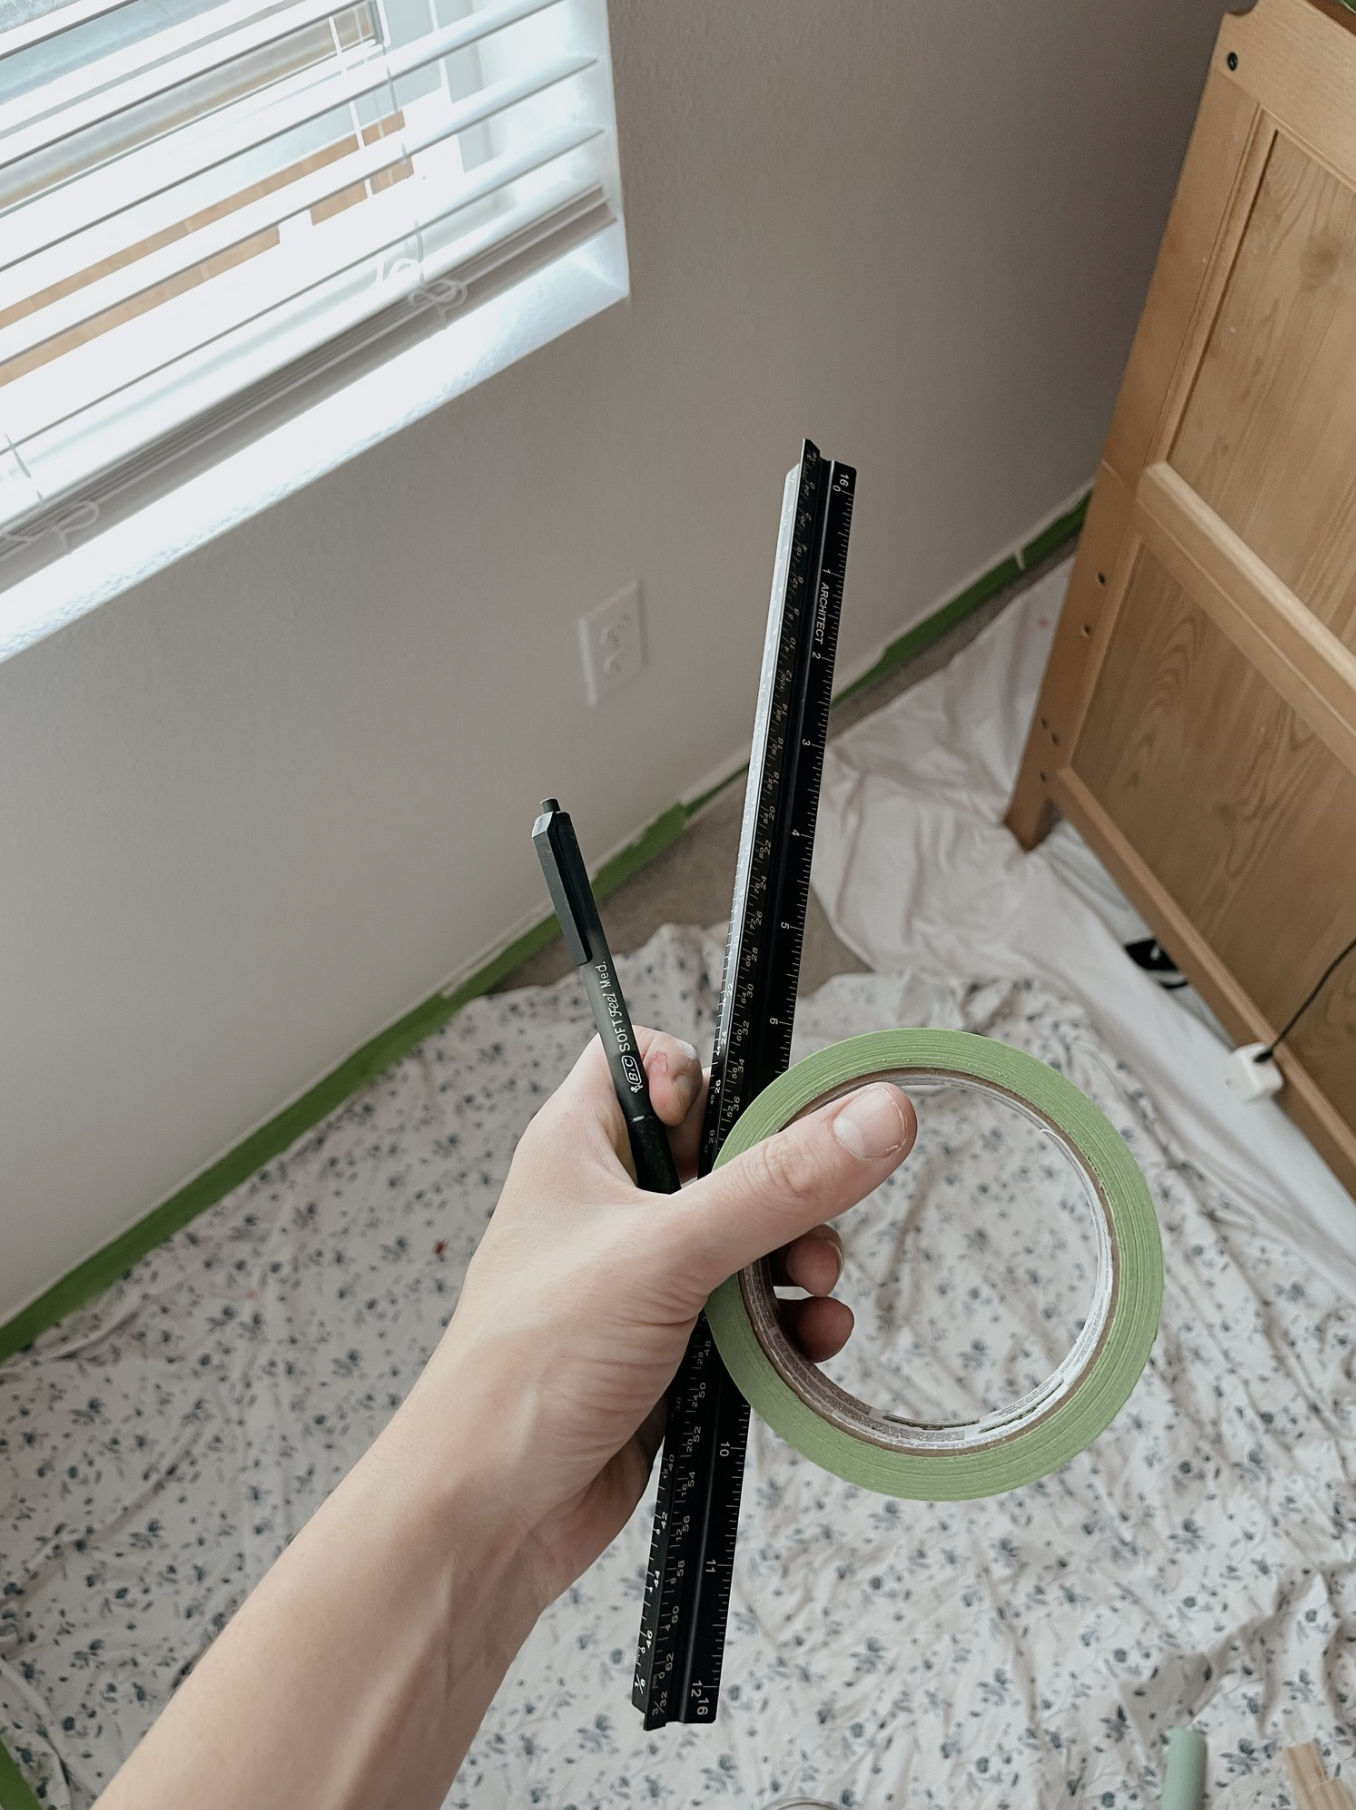
Pencil
Ruler
Drop cloths or plastic sheets
High-quality paint in your desired colors
Paintbrushes or paint rollers
Painter's tray
Sponge brush or any thick paint brush
Step 1: Prepare Your Space Start by removing any furniture, decorations, or wall hangings from the area you'll be working on. Lay down drop cloths or plastic sheets to protect your floor and ensure easy cleanup.
Step 2: Make sure you have a preferred base color. The white on my walls wasn’t quit right, so I went with a lighter white to compliment my scallop color- Alabaster from Sherwin Williams.
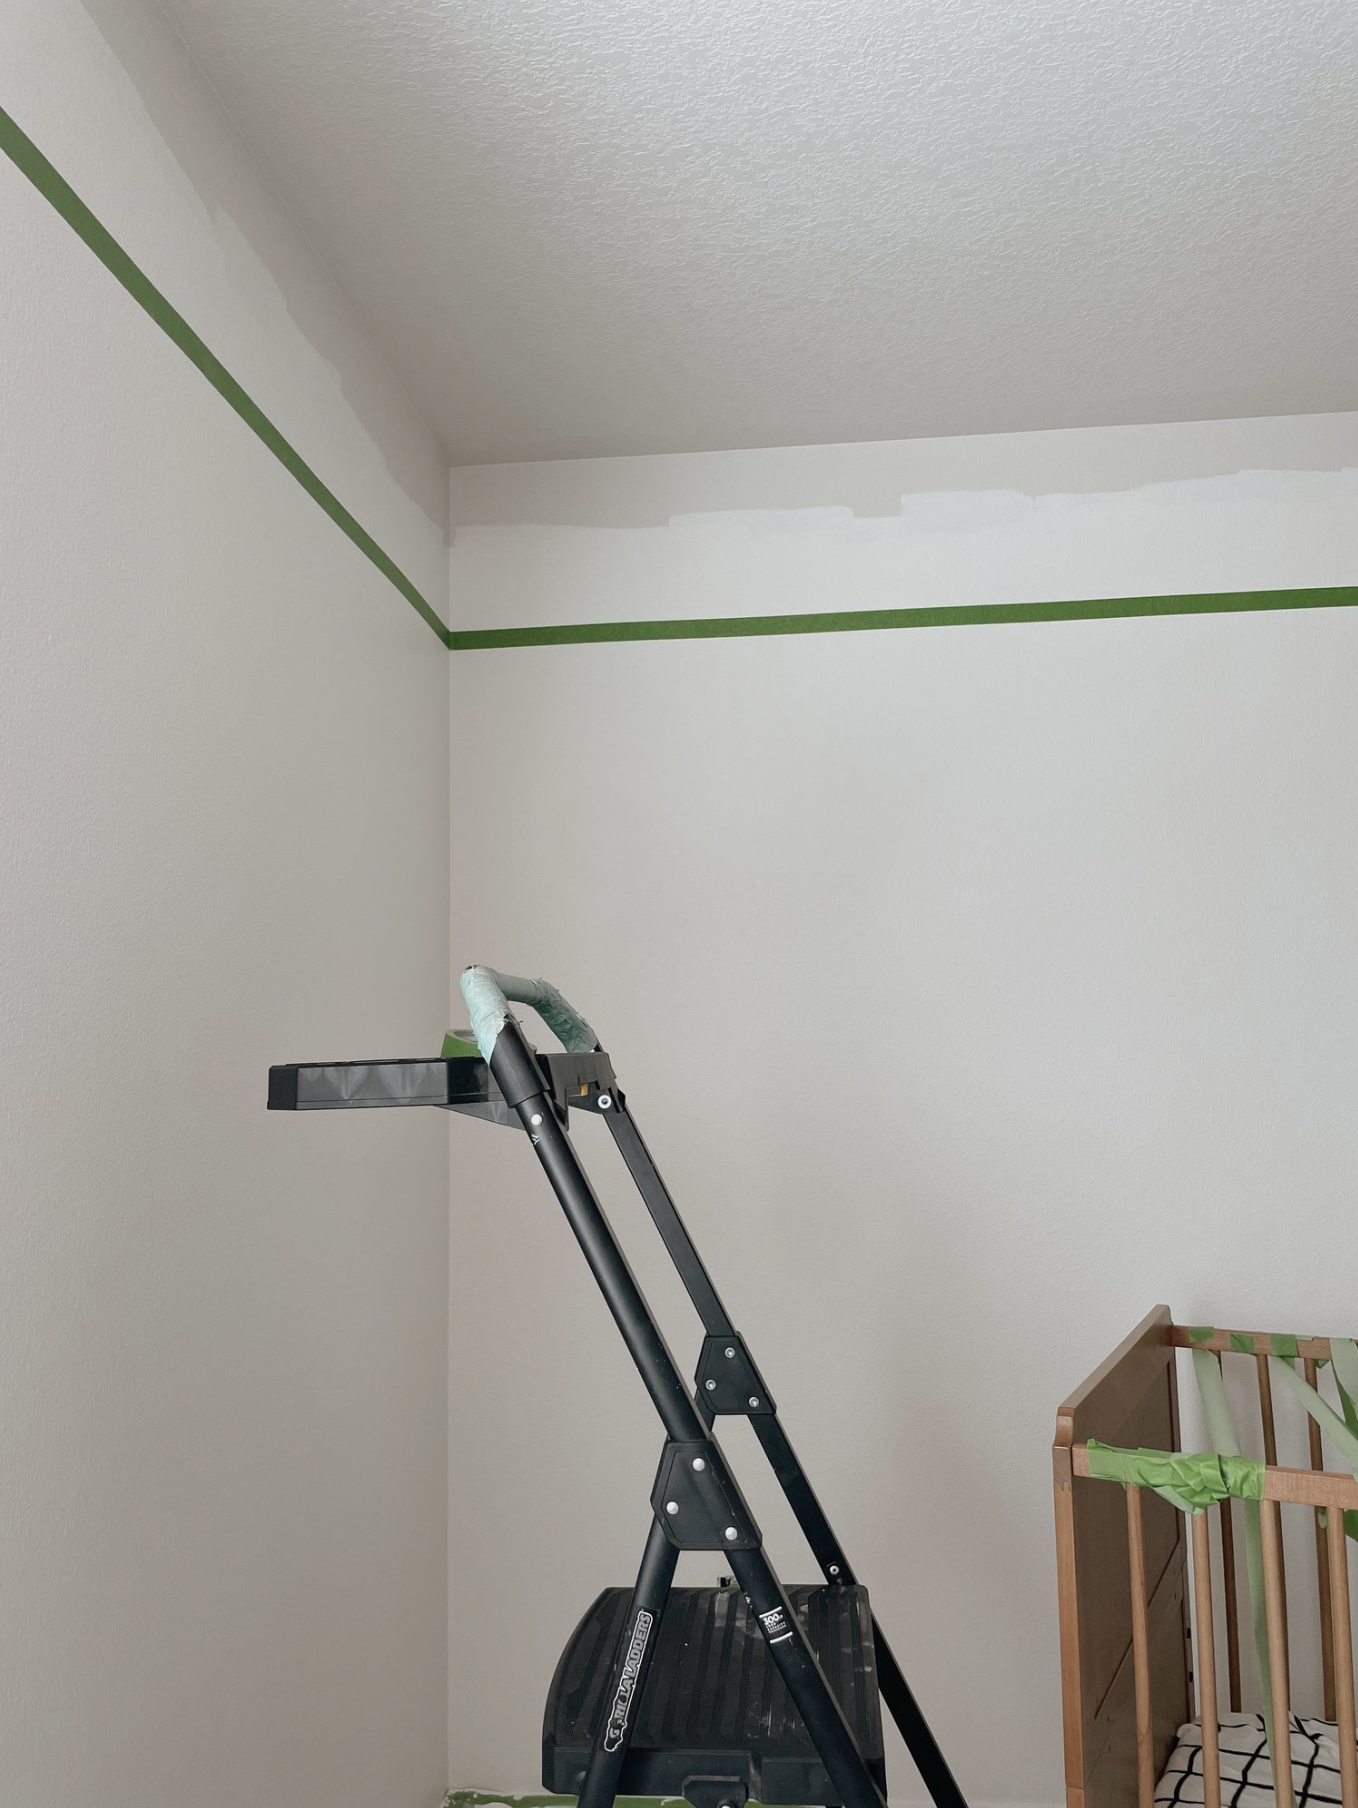
Step 3: Once your base is painted and dried its time to level out the area that will have color. I used a ruler and made dashes all around the room, from ceiling to where the ruler ended. Once all the dashes were made I then laid the tape at each dash. (reference photo below)


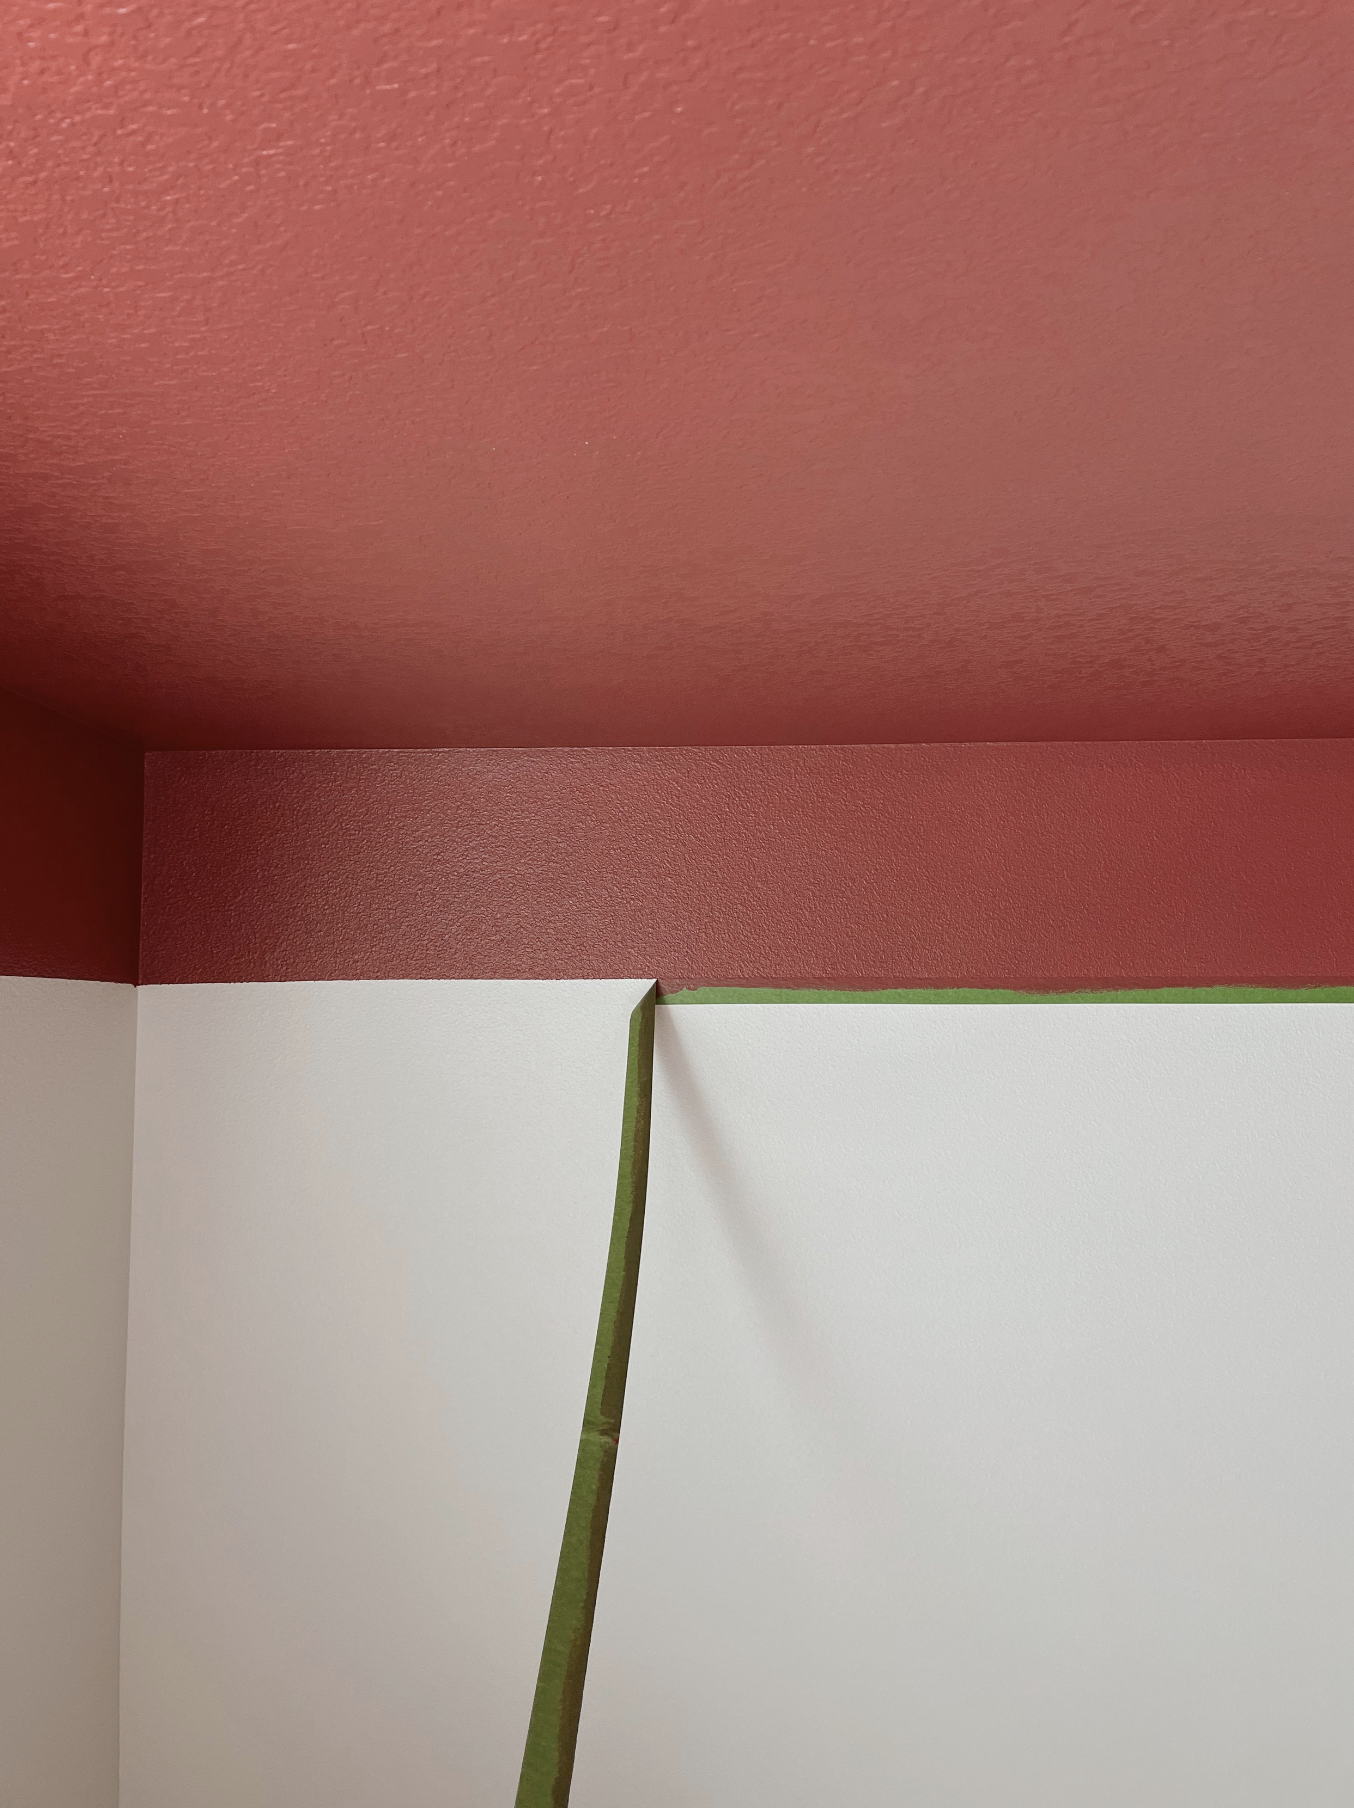
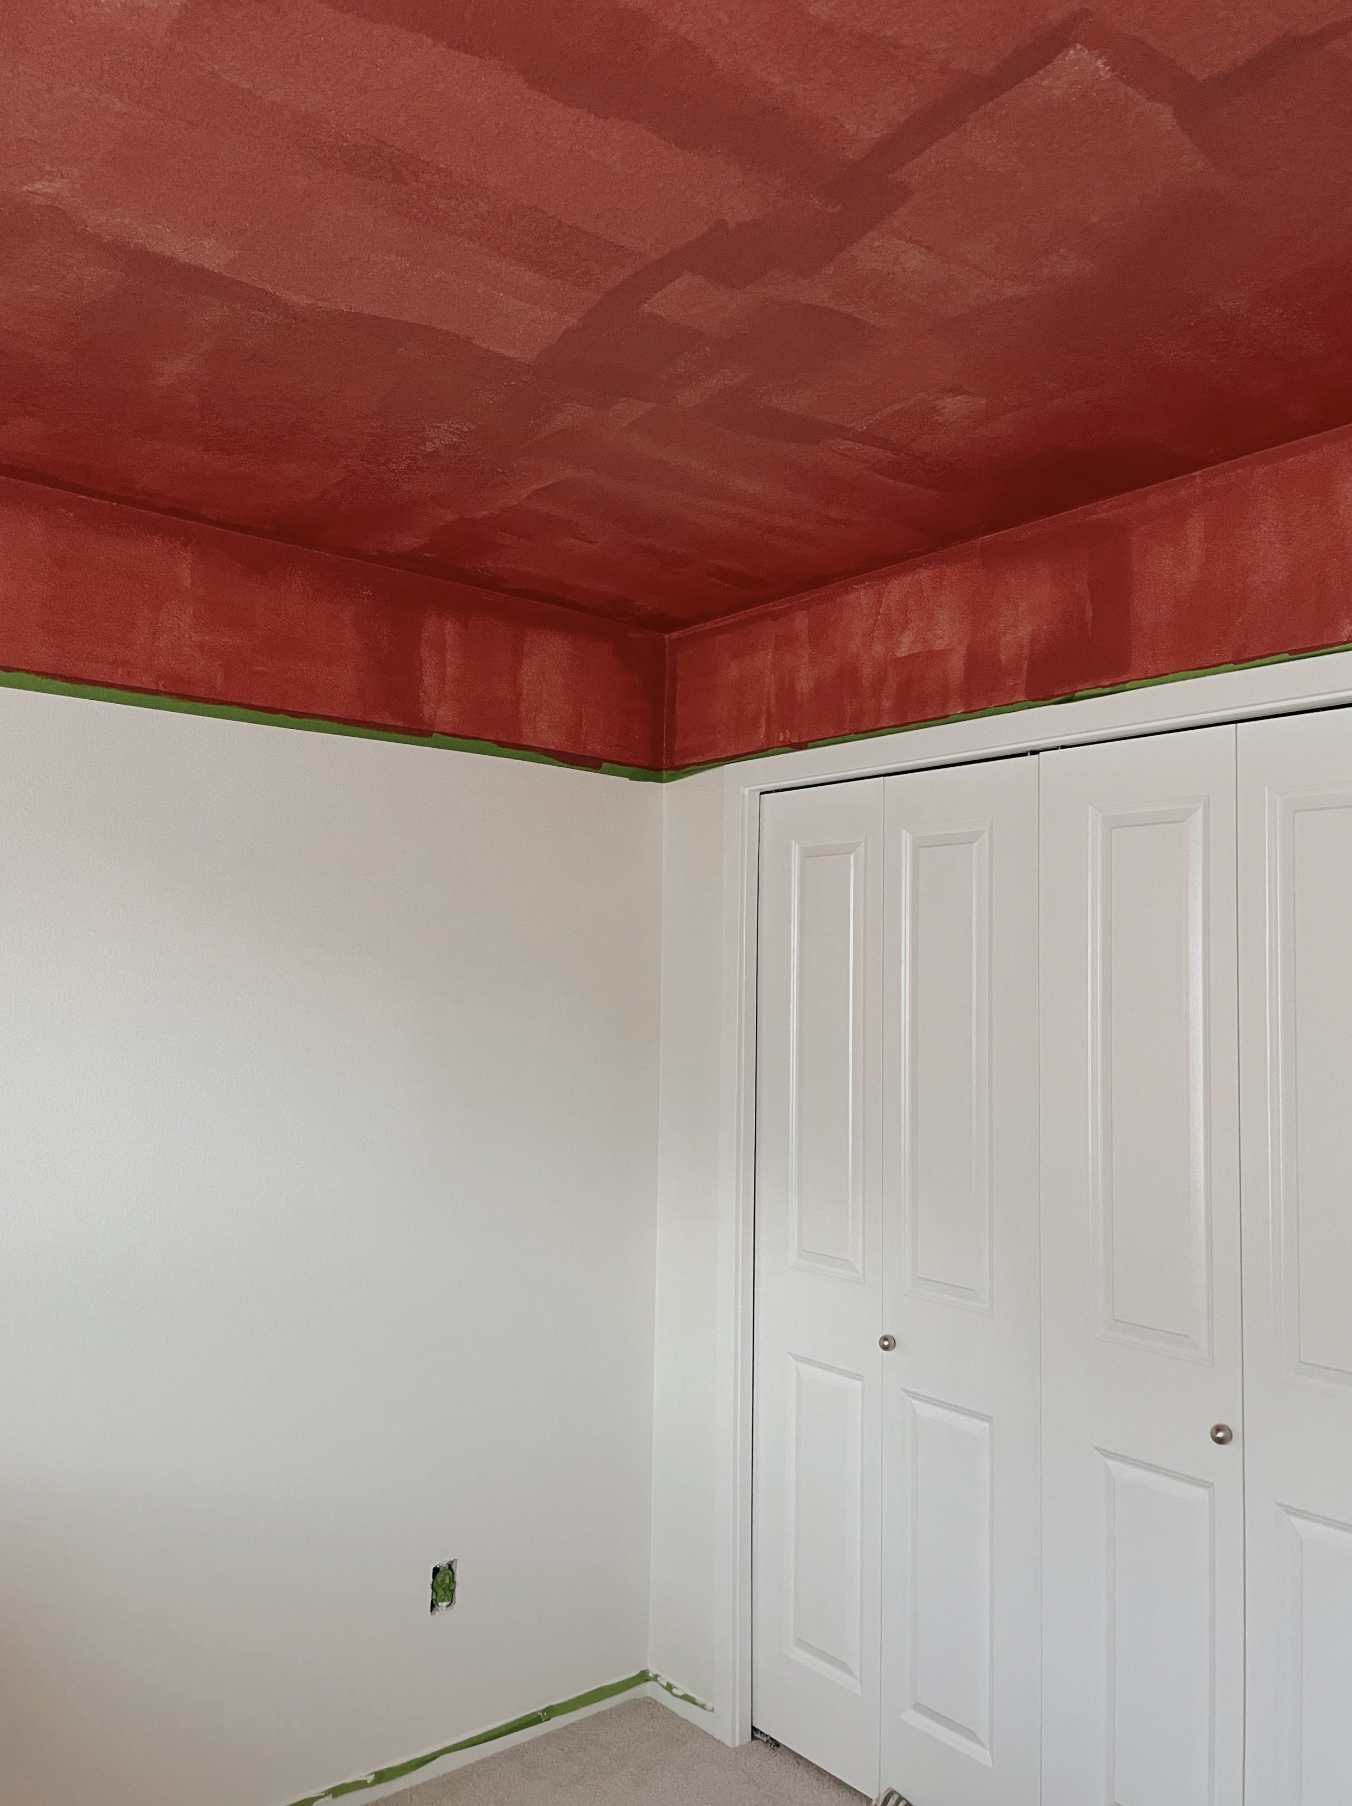
Step 4: Once the tapping is done it is time to paint some more!


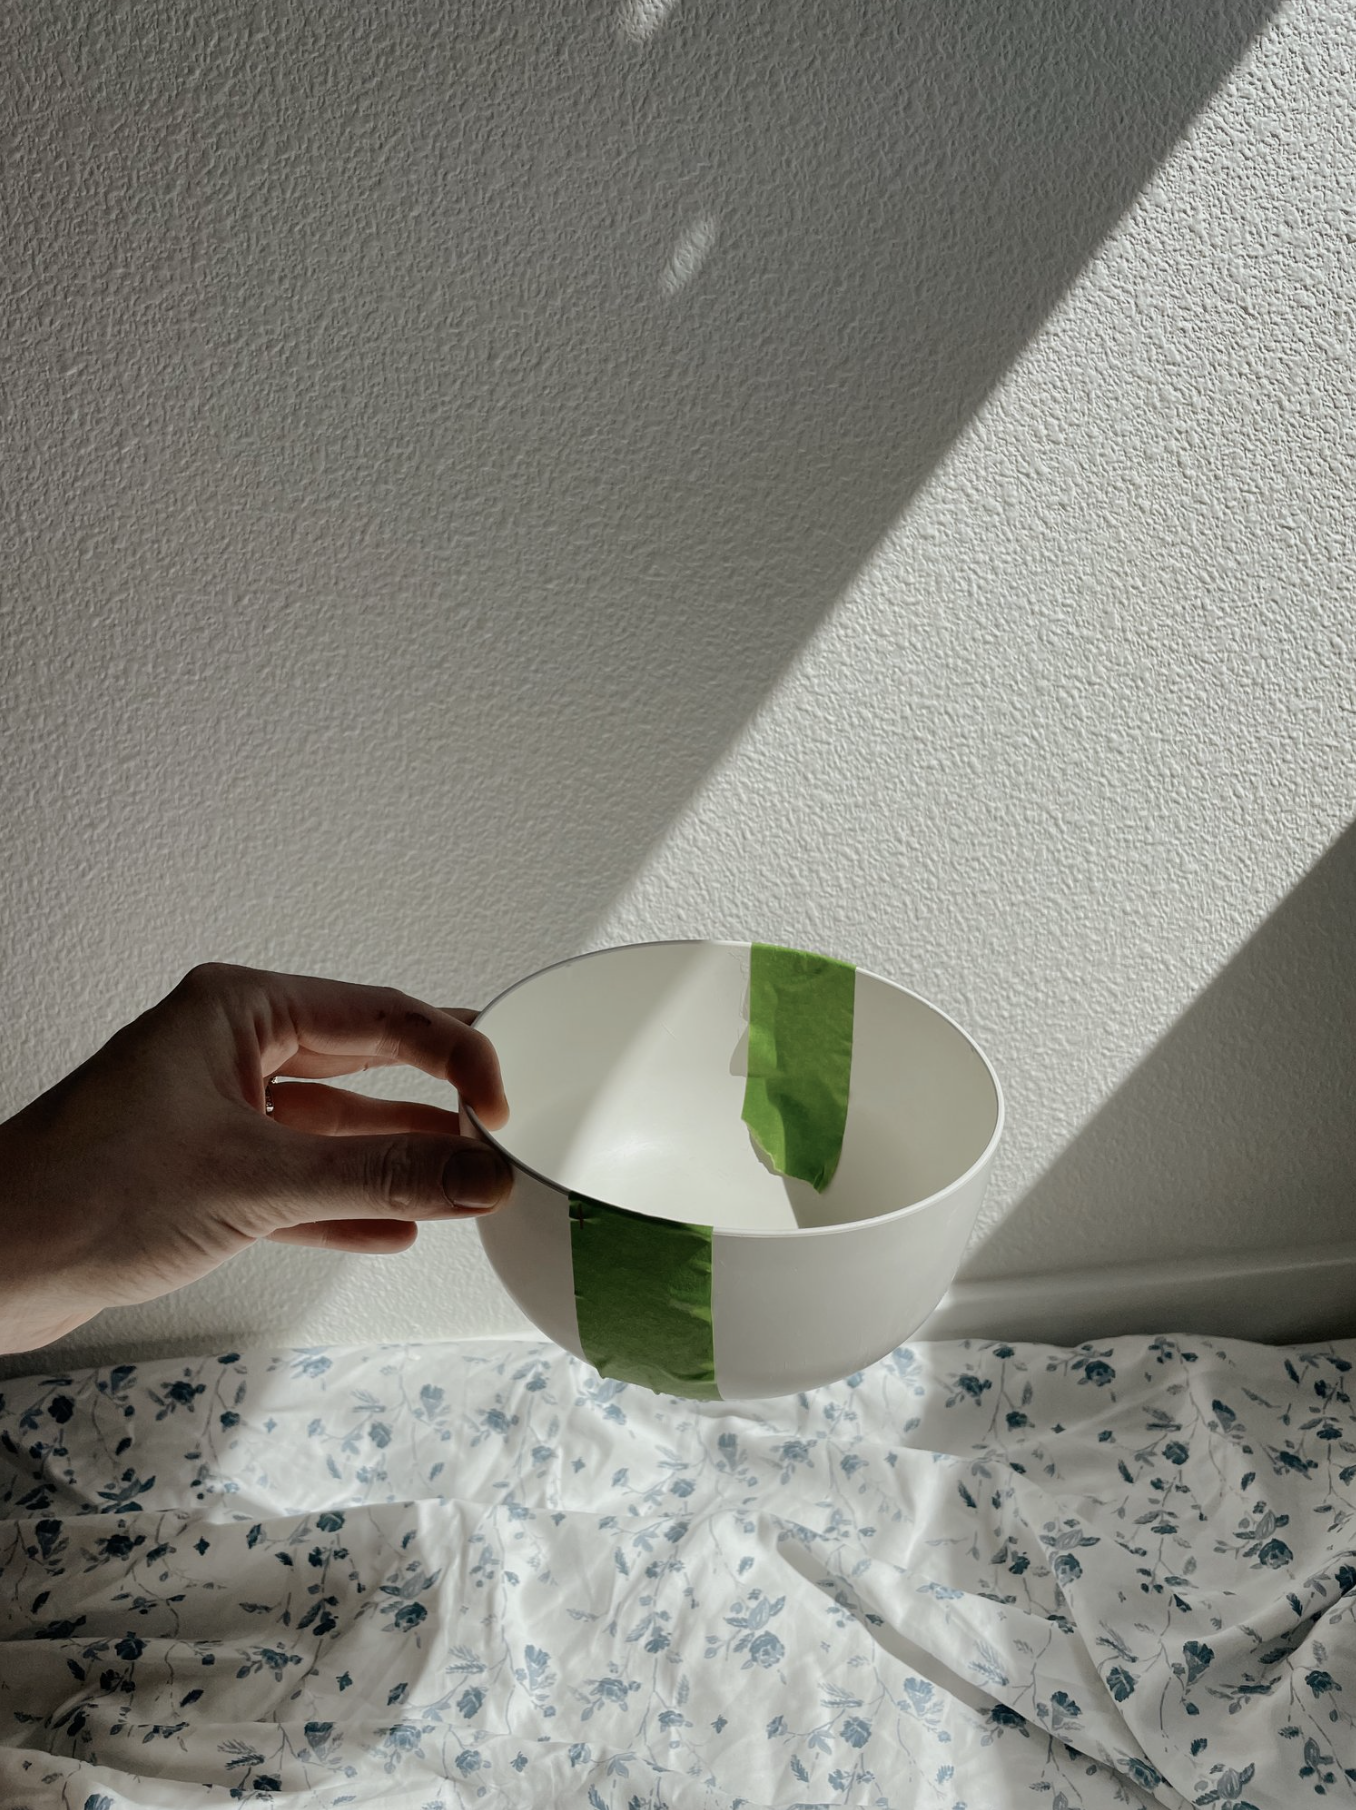
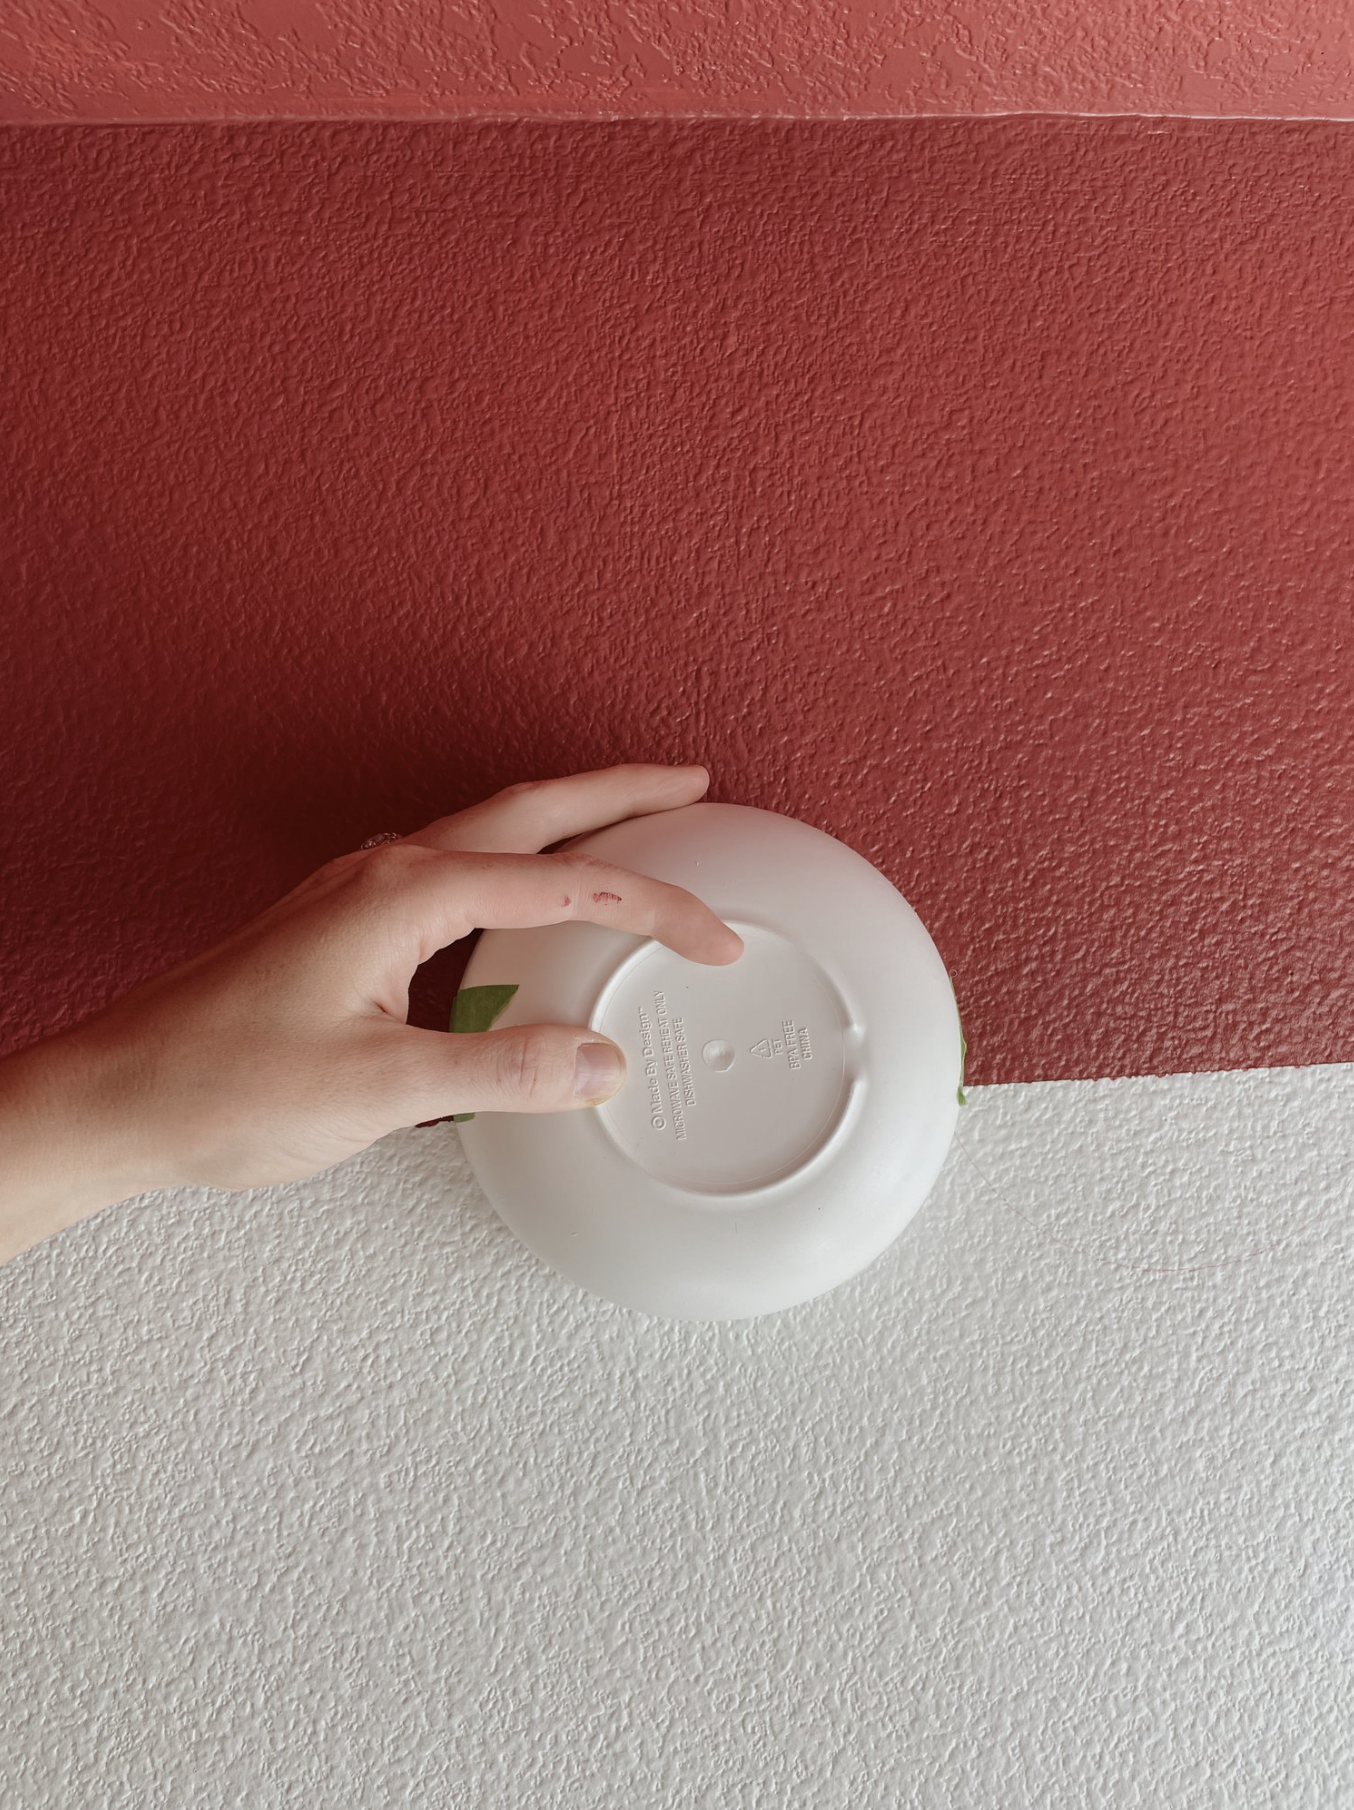
Step 5: For the scallops you will need a round object. For this room I just used a bowl from my kitchen. I tapped both sides of the bowl and marked witch side of tape I used to line up where both paints meet. That way every scallop is the same.
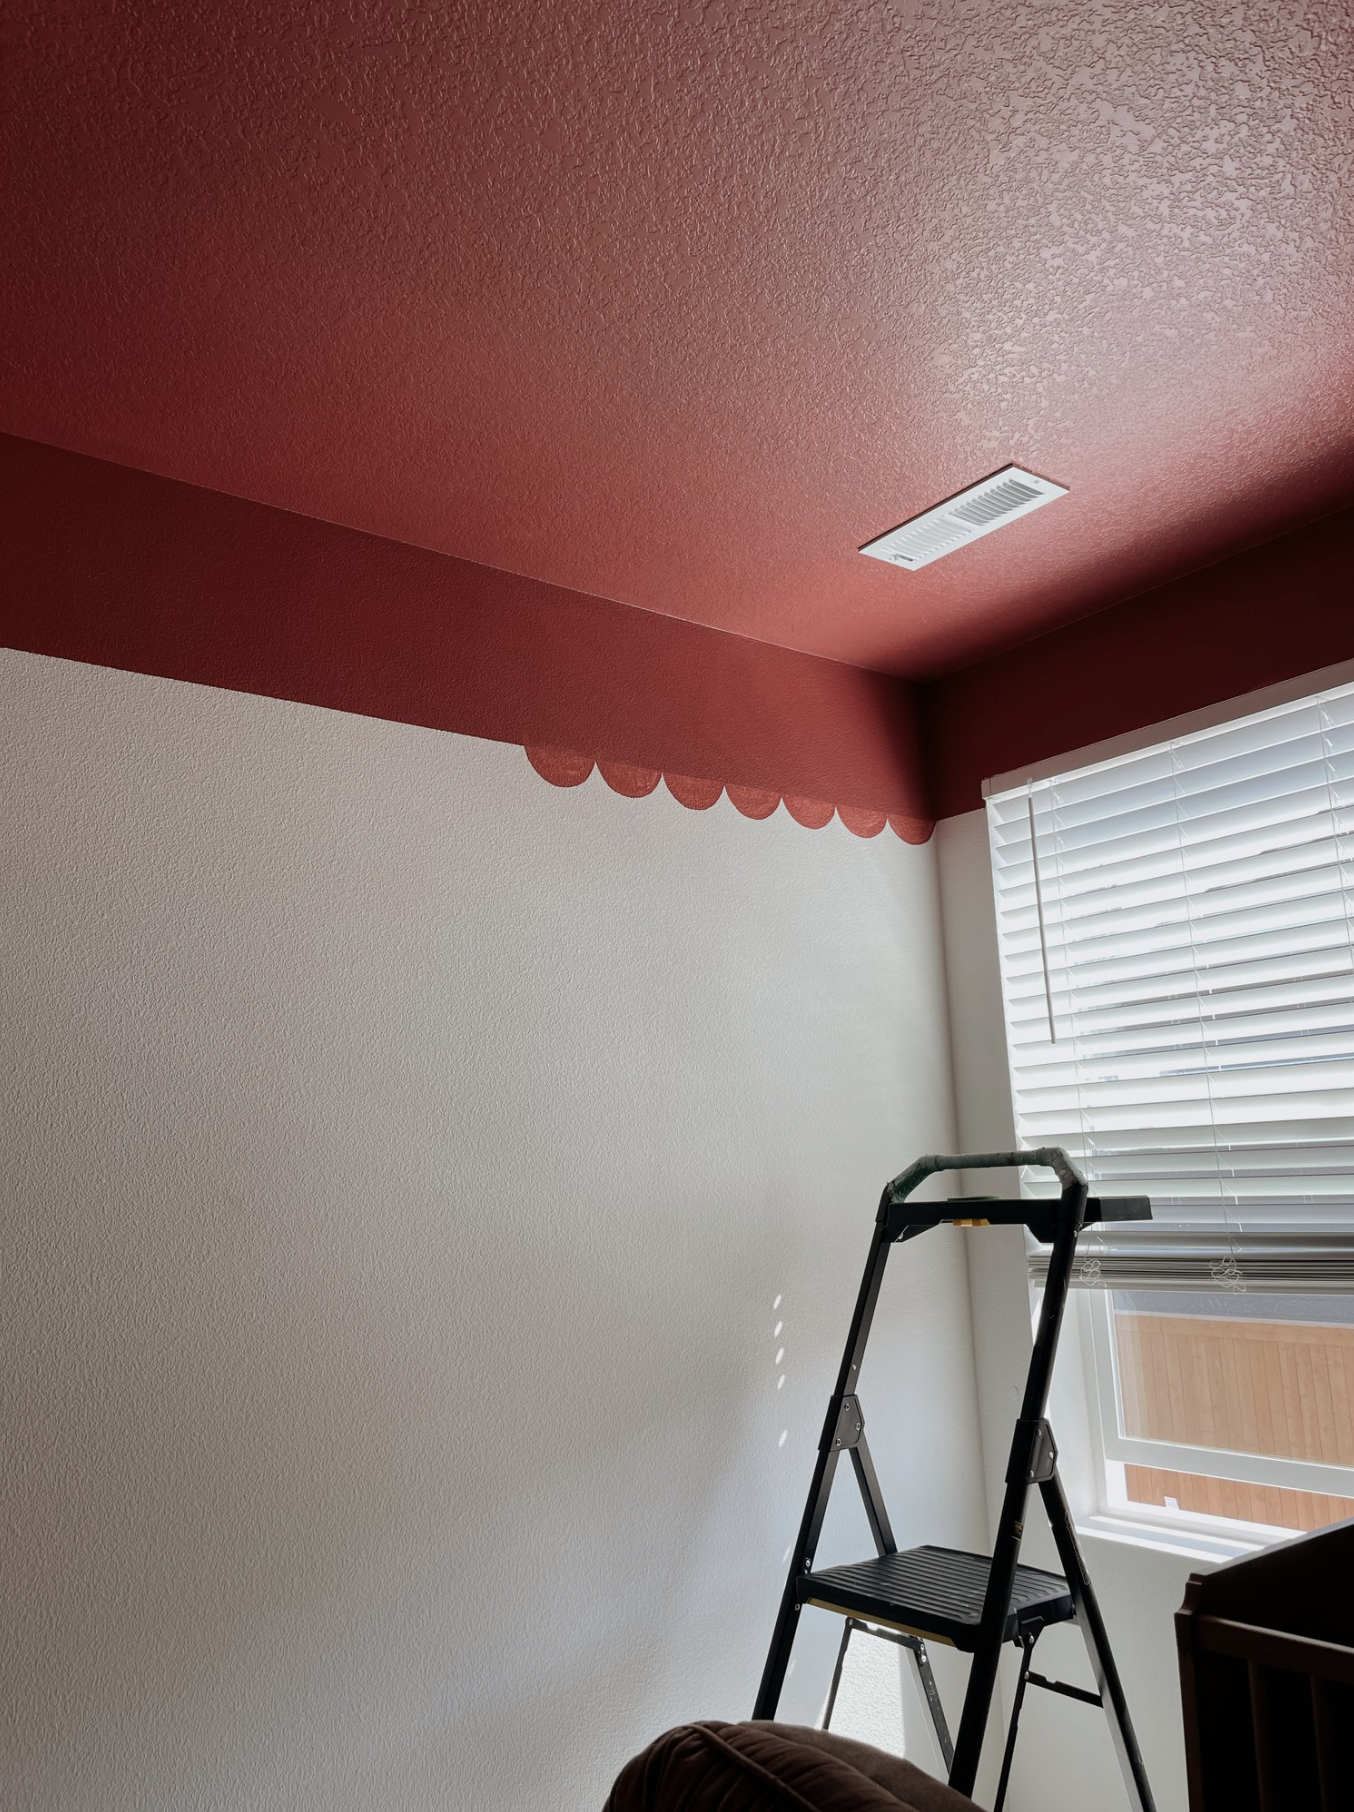
Step 6: Once all the scallops are traced its time to paint them in!
Step 7: Admire Your Work Step back and take in the beauty of your DIY scalloped painted walls! The unique and artistic touch you've added to your space will surely impress your friends and family.
Congratulations on completing this exciting DIY project! Scalloped painted walls are a fantastic way to personalize your living space and express your creativity. With a bit of patience and attention to detail, you've transformed your walls into a stunning work of art. Now sit back, relax, and enjoy the beauty you've brought to your home. Happy decorating!